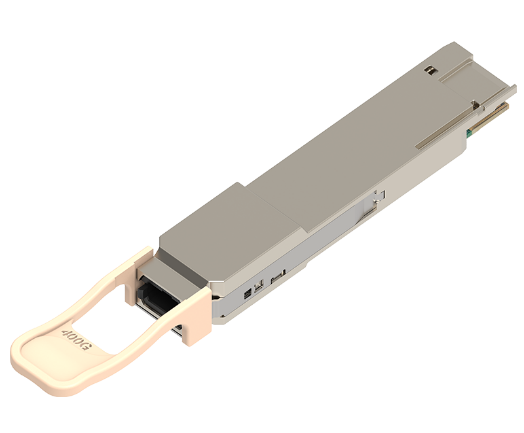
Optical transceivers are critical components in data communication systems that enable the transmission of data via optical fibers. They convert electrical signals into optical signals, which are then transmitted over the fiber. However, like all electronic components, optical transceivers can fail, which can result in data transmission issues and network downtime. In this article, we will discuss some common causes of optical transceiver failure and how to solve them.
Troubleshooting Steps
Once you’ve identified the issue and its possible causes, it’s time to start troubleshooting. Here are some steps you can take to troubleshoot optical transceiver issues:
Step 1: Identify the Problem
The first step in troubleshooting an optical transceiver issue is to identify the problem. Determine whether the problem is with a specific device, a particular network segment, or the entire network. The issue could be caused by a physical problem, such as a damaged cable, or a configuration issue, such as an incorrect setting.
Step 2: Gather Information
Once you have identified the problem, gather as much information as possible. This includes checking error logs, reviewing network diagrams, and verifying configurations. Use network monitoring tools to gather data on network traffic, bandwidth usage, and error rates.
Step 3: Check the Physical Connections
Check all physical connections to ensure that they are secure and properly plugged in. Make sure that the cables are not damaged or frayed, and that the connectors are clean and free from debris.
Step 4: Verify the Power Supply
Check the power supply to the equipment and the transceiver. Make sure that the power supply is functioning correctly and that the equipment is receiving the correct voltage.
Step 5: Check the Compatibility
Verify that the transceiver is compatible with the equipment it is installed in. Check the equipment manual or the manufacturer’s website to confirm compatibility. Installing an incompatible transceiver can cause compatibility issues and potentially damage the equipment.
Step 6: Check for Firmware Updates
Check for any firmware updates that are available for the transceiver or the equipment. Outdated firmware can cause compatibility issues and affect the performance of the transceiver.

Step 7: Check the Configuration
Check the configuration of the equipment to ensure that the correct settings are in place. This includes verifying the port speed, duplex setting, and VLAN configuration.
Step 8: Swap the Transceiver
If you have determined that the issue is with the transceiver, try swapping it out with a known working transceiver. This can help to confirm that the problem is with the transceiver itself.
Step 9: Perform a Loopback Test
Perform a loopback test to verify that the transceiver is functioning correctly. This involves connecting the transmit and receive pairs on the transceiver to create a loopback. This test can be used to isolate issues with the transceiver from other network issues.
Step 10: Contact the Manufacturer
If you have tried all the troubleshooting steps and are still experiencing issues, contact the manufacturer for further assistance. They may be able to provide additional troubleshooting steps or replace the transceiver if it is determined to be faulty.
Resolving Common Optical Transceiver Issues
Cleaning the Transceiver
Cleaning the transceiver is an essential maintenance task that can help prevent issues with data transmission. Over time, debris and contaminants can accumulate on the connectors, leading to a poor connection. Here are the steps to clean an optical transceiver:
Purchase a transceiver cleaning tool: You can purchase a cleaning tool designed for optical transceivers. These tools are relatively inexpensive and easy to use.
Open the Transceiver: Open the transceiver and remove the dust cap from the connectors.
Insert the Cleaning Tool: Insert the cleaning tool into the connectors and gently rotate it a few times.
Replace the Dust Cap: Replace the dust cap on the connectors to protect them from dust and debris.
Upgrading the Firmware
If the issue is caused by outdated firmware, upgrading the firmware can resolve the problem. Check the manufacturer’s website for firmware updates and follow the instructions to upgrade the firmware.
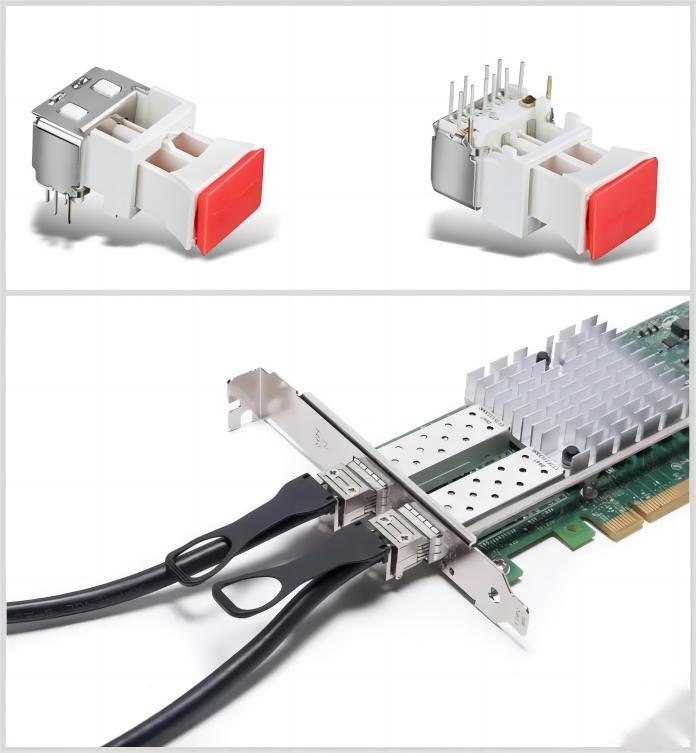
Replacing the Transceiver
If the transceiver is faulty, replacing it is the best solution. However, it’s crucial to ensure that the replacement transceiver is compatible with your equipment. Here are the steps to replace an optical transceiver:
Identify the Compatible Transceiver Type: Identify the compatible transceiver type for your equipment. This information can be found in the equipment manual or on the manufacturer’s website.
Purchase a Compatible Transceiver: Purchase a compatible transceiver from a reputable supplier.
Turn off the Equipment: Turn off the equipment and unplug it from the power source.

Remove the Faulty Transceiver: Remove the faulty transceiver from the equipment by gently pulling on the release tab.
Install the New Transceiver: Insert the new transceiver into the equipment until it clicks into place.
Turn on the Equipment: Turn on the equipment and test the connection to ensure that the new transceiver is functioning correctly.
In addition to these solutions, it is important to have a regular maintenance schedule for optical transceivers. This can include regular inspections, cleaning, and replacement of worn components. Regular maintenance can help to identify potential issues before they become serious problems, and can help to extend the lifespan of the transceivers.